
Summer is in full bloom, and now is the time to capture the fleeting beauty of flowers forever with your camera. Keep your camera handy, because you may be inspired in your garden or even on a country roadside; you never know where you will be when the perfect subject appears. I think every flower photographer should know how to take close-ups – after all, the beauty is in the details. Thanks to modern technology, taking macro photos is easy; simply select macro mode on a point-and-shoot digital camera or use a macro lens on a DSLR camera. Taking good macro photos, however, takes knowledge and practice. Read on for some simple tips on macro flower photography.
Select the Best Subject
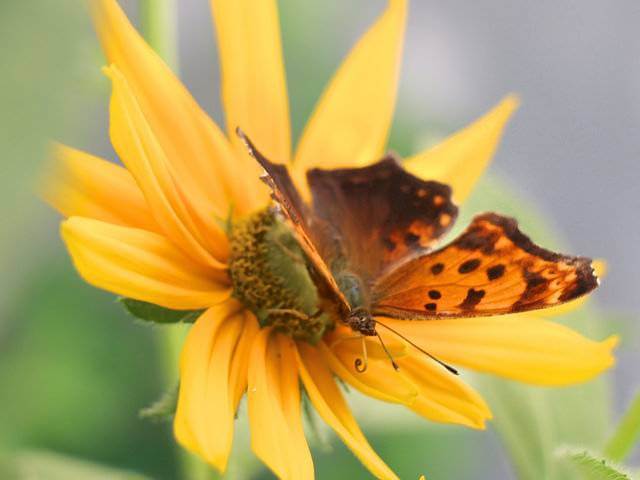
When taking close-ups of flowers, it is essential to find a perfect subject. The slightest imperfections that can barely be seen by the naked eye will be magnified and prominent in macro photos. You should expect to spend a while looking for the right subject and plan accordingly; I say this from personal experience. It is also important to make sure nothing is in front of your chosen flower that will block the view. Remember, you can always remove foliage or other plants around your subject or bend and tie them out of the way. Consider taking a close-up of a flower with a butterfly, bee, or other insect – this will add interest.
Image via Beckwith-Zink (Diane) (Flickr)
Choose the Right Weather
Sunny, cloudless skies may be good for picnics, but they are not good for outdoor photography. A bright-but-overcast day with little to no wind is best. If you are like me and don’t want to wait for better weather, or if you simply want more control over your environment, you may want to take your subject inside if possible. As an added benefit, you won’t have to get your knees dirty by trying to get eye-level with the subject! If it isn’t possible to take your subject indoors, a plant clamp can be used to hold a plant still on a windy day. It also works well to hold other plants out of the way of your subject.
Use a Tripod
When taking macro photos, the slightest movement can ruin a photo. Investing in a good tripod will eliminate camera shake and thus prevent blurring in your macro photos. Choose a tripod that can get very low to the ground; there are some tripods in which the center column inverts and allows you to place the camera at ground level between the tripod legs. Having your camera in place on a tripod frees up your hands so that you can do other things, and it can also hold other equipment besides your camera, such as reflectors and flash units.
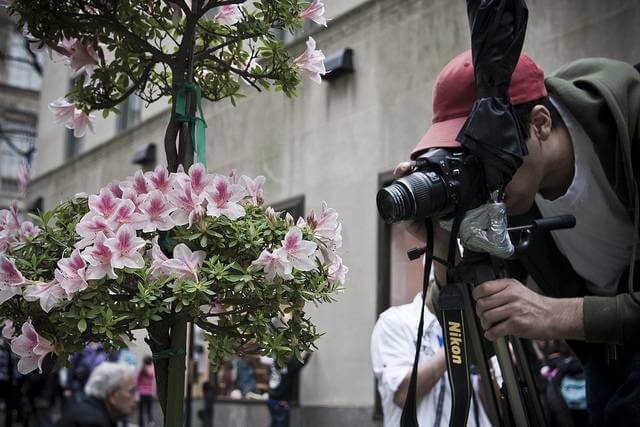
Image via Rob Boudon (Flickr)
Backgrounds
A busy, distracting background is taboo when taking macro flower photos. An entire flower garden may be beautiful, but it detracts attention from a close-up photo of a single flower. What you are looking for is a clear or uncluttered background or a subject with a background that is far off in the distance. If you can’t separate a subject from its background, then use a plain white card behind the subject.
Experiment with Angles and Lighting
Usually the best way to take macro photos of flowers is to get down at eye level to them. However, photos taken looking up, down, or from the side can also be interesting, and I think they capture rarely-seen sides of flowers. Experiment with lighting as well. A single off-camera flash allows you to direct light onto your subject from different angles, resulting in very different photographs. Flash modifiers like diffusers and reflectors soften the light and add different effects to photographs. A ring flash eliminates lens shadows and evens lighting, which enhances detail and color in your photos. Take several shots of your subject from different angles and with different lighting techniques; then, you will be able to choose the best of the bunch later.
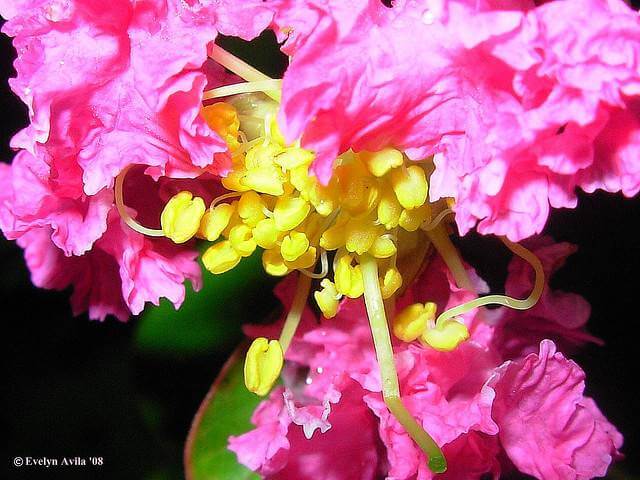
Image via Evelyn Avila (Flickr)